Disclaimer: This is my first 'real' tutorial. If I missed something or something was a bit confusing just tell me and I'll try to explain it.
Hope you all enjoy. :)

Take your old car seat cover and lay it flat on the paper you've chosen to use. You will have several sections you need to trace: A top, a bottom, and any sides or overhanging areas.

Now draw around the first section of the layed out car seat.. Generally speaking you can assume that the binding is hiding your seam so you don't need to make an allowance for it, but be aware that the issue might arise.

Be sure to mark any parts that lie on the inside of the pattern, like strap holes and any extra stitching.

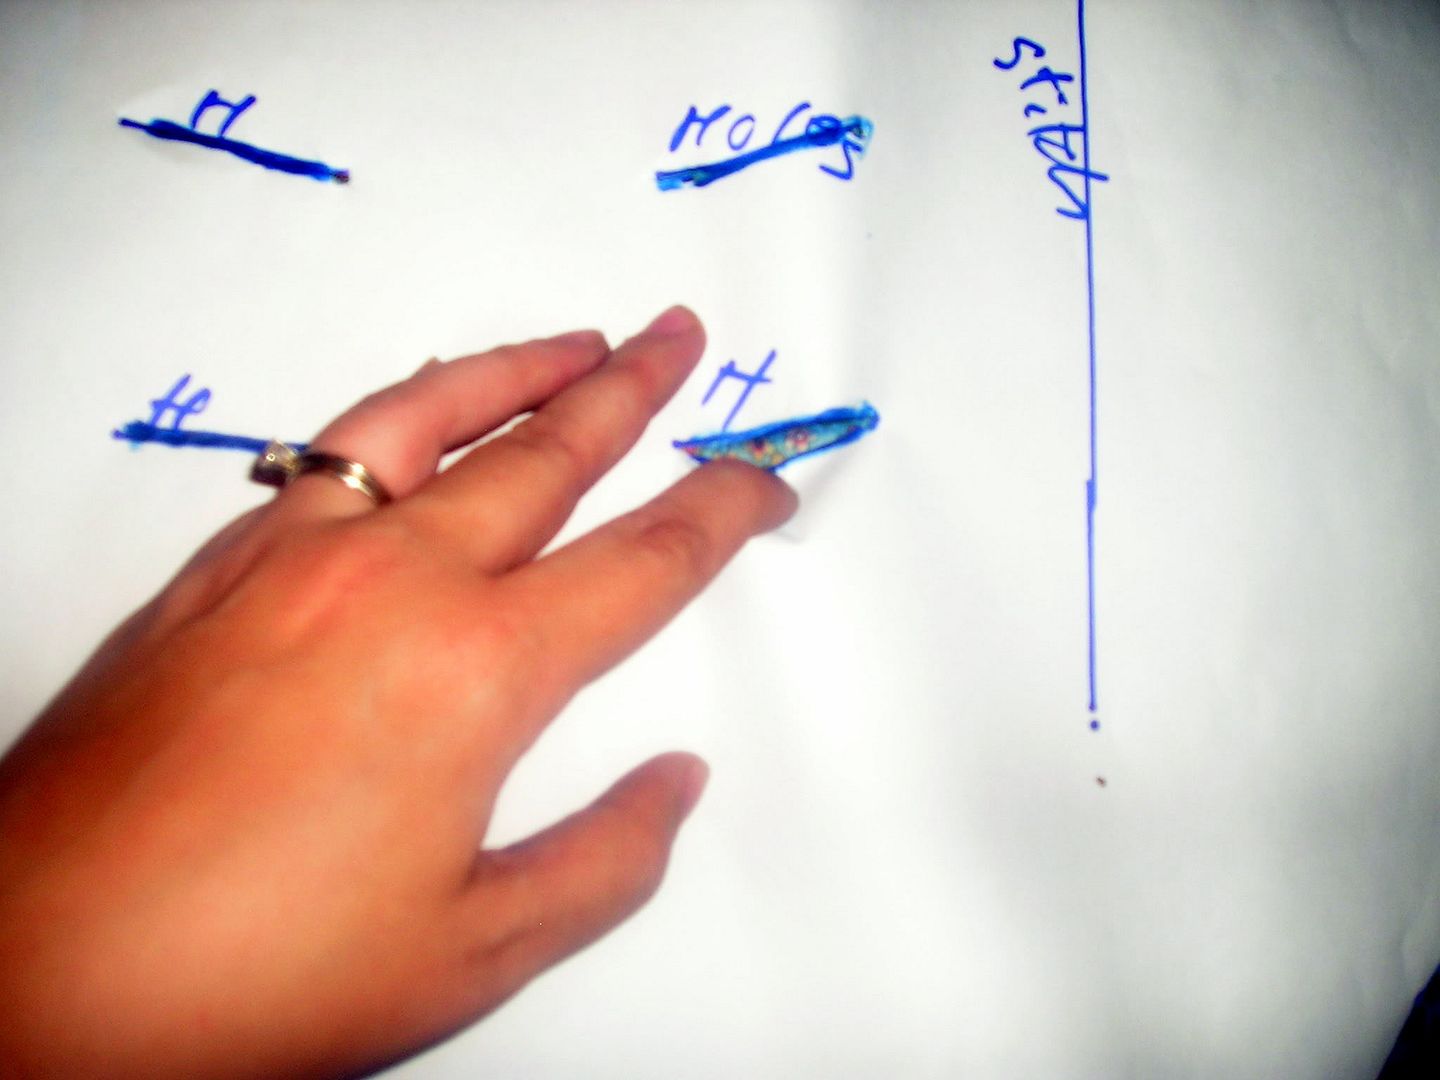
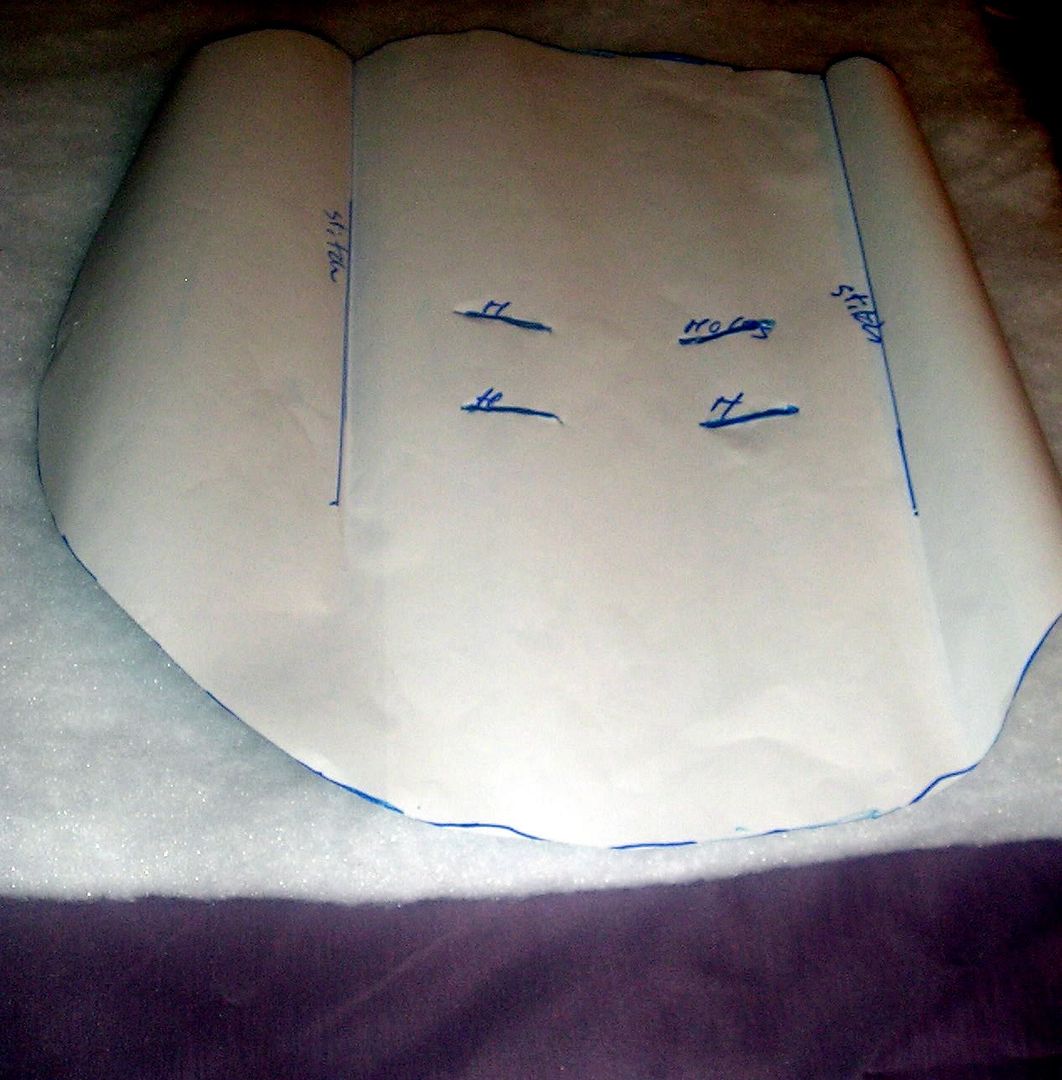
Your patterns will start looking something like this.

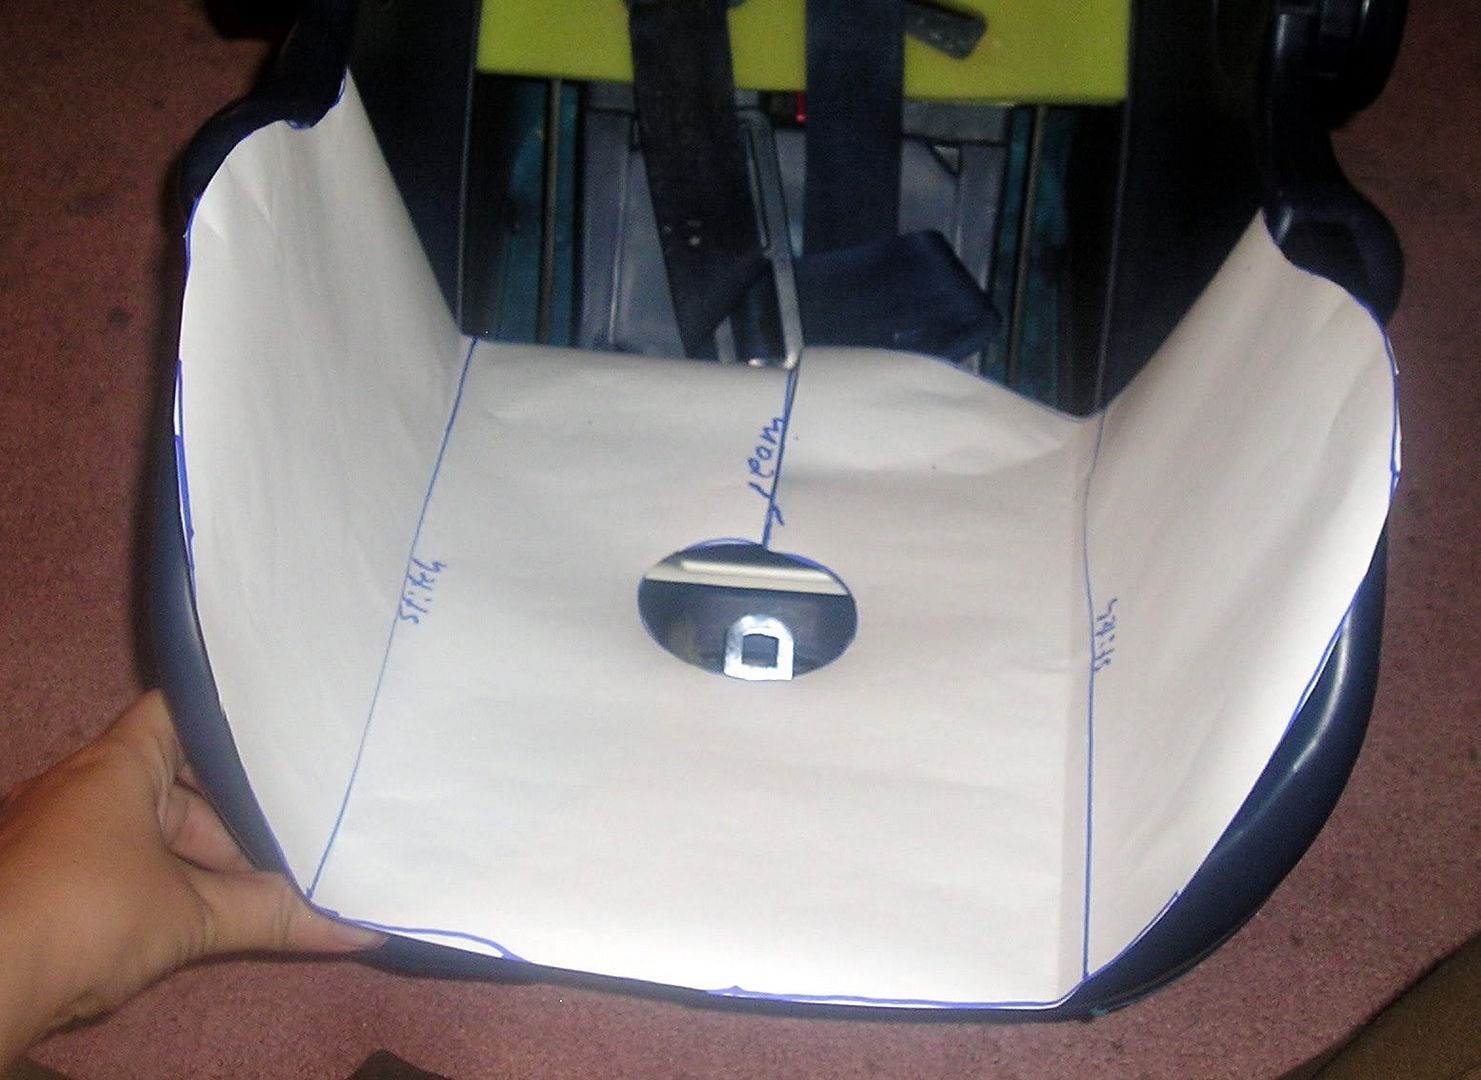
When you cut out your pattern sections, remember to write what each line is for, and cut any holes so you can mark your fabric.
This bit of the pattern is a tad trickier. This is the overlay that is found on the top and bottom of the carseat
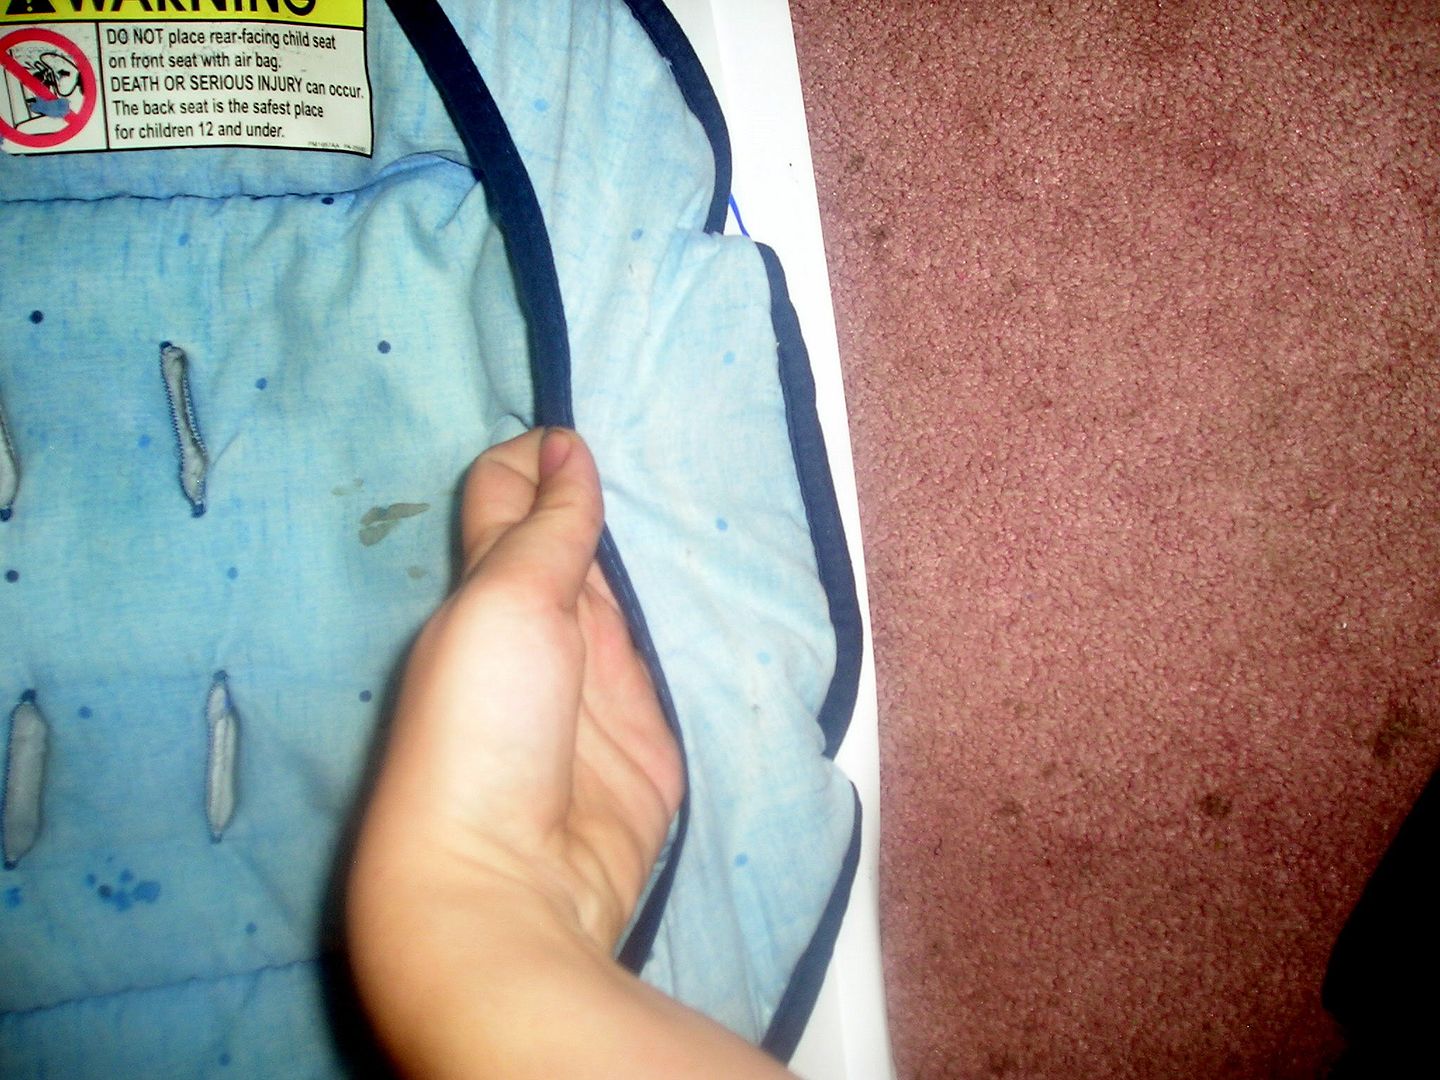
As you can see, you can't just draw around it. So you're going to have to eyeball it. Don't get panicky! It's still just paper.
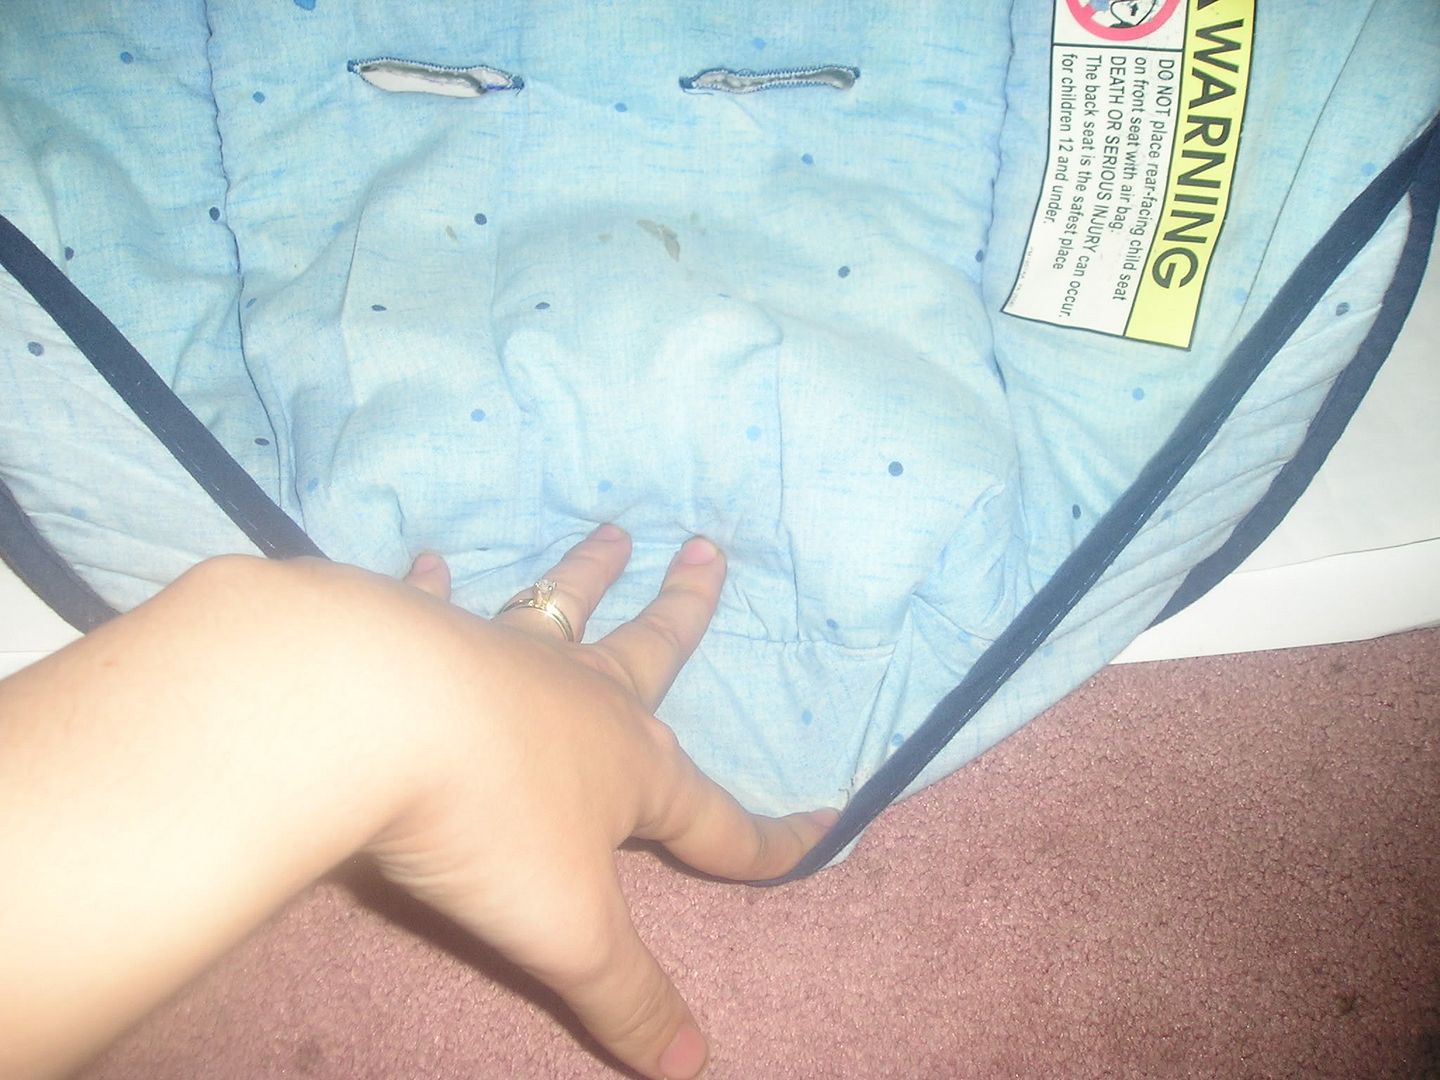
First I traced around any parts that I could.

Then I measured the center most point and marked the top on my paper (where I couldn't trace) I also measured a spot on either end where it was about an inch wide. In essence creating a connect the dots.
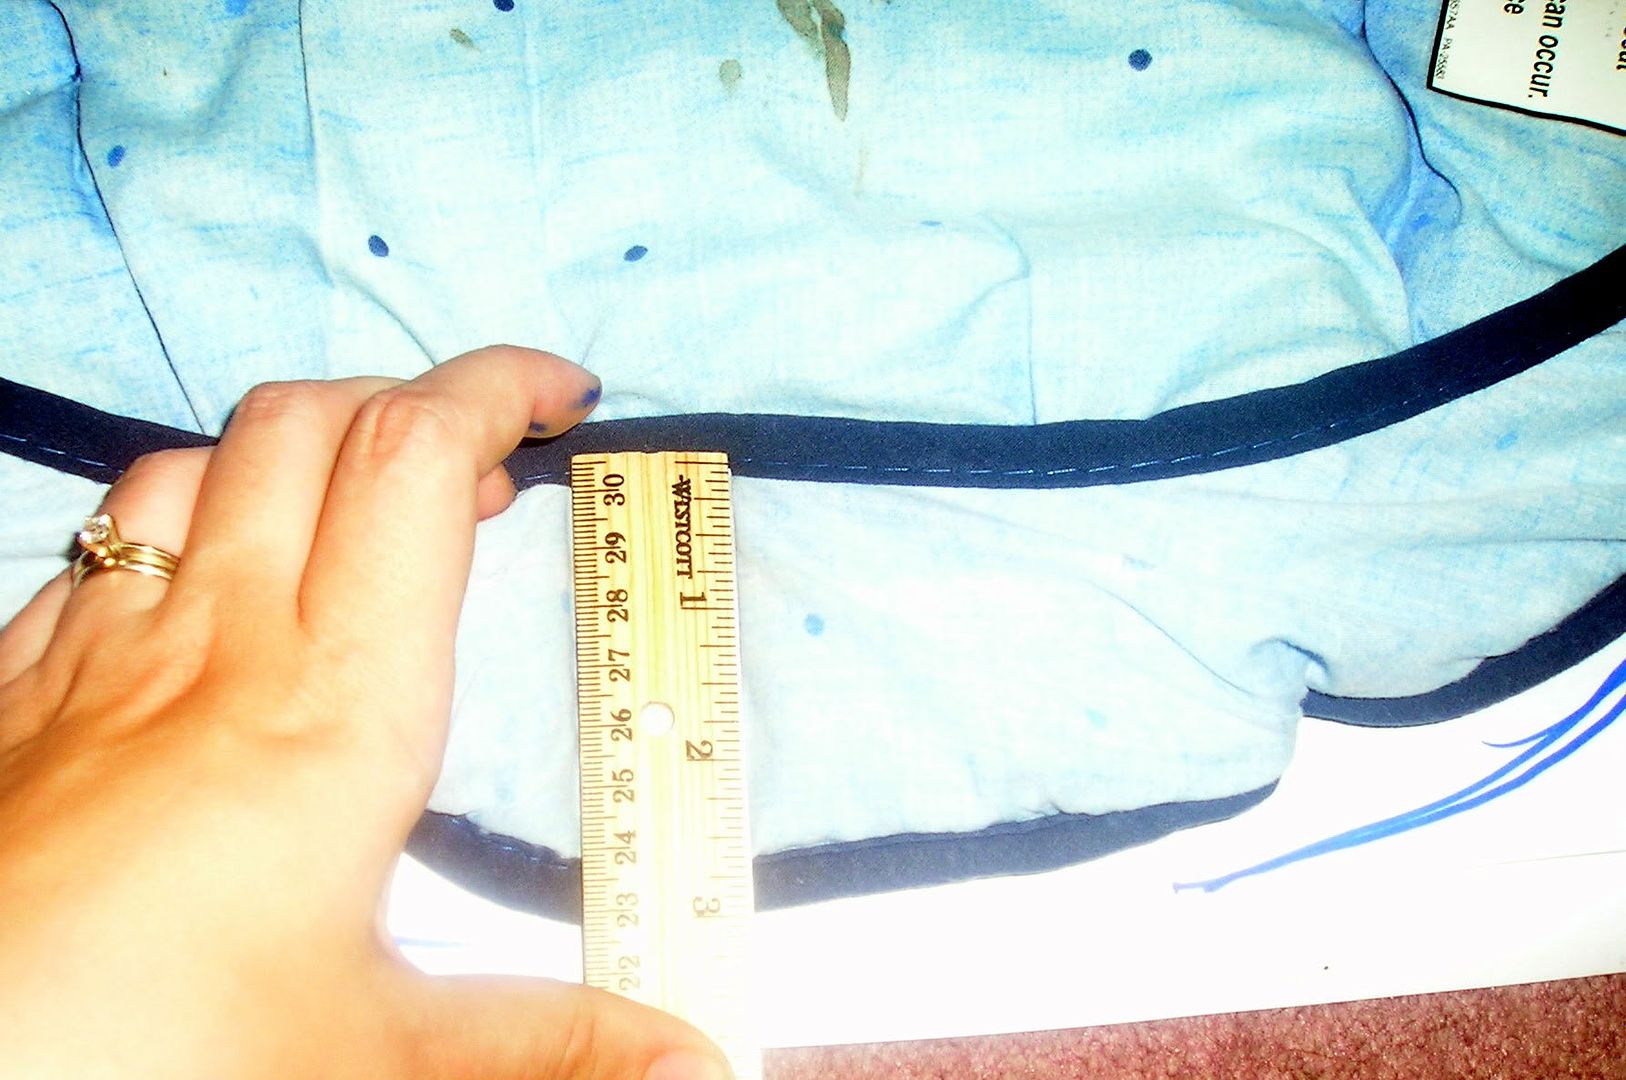
Then I followed that path around.
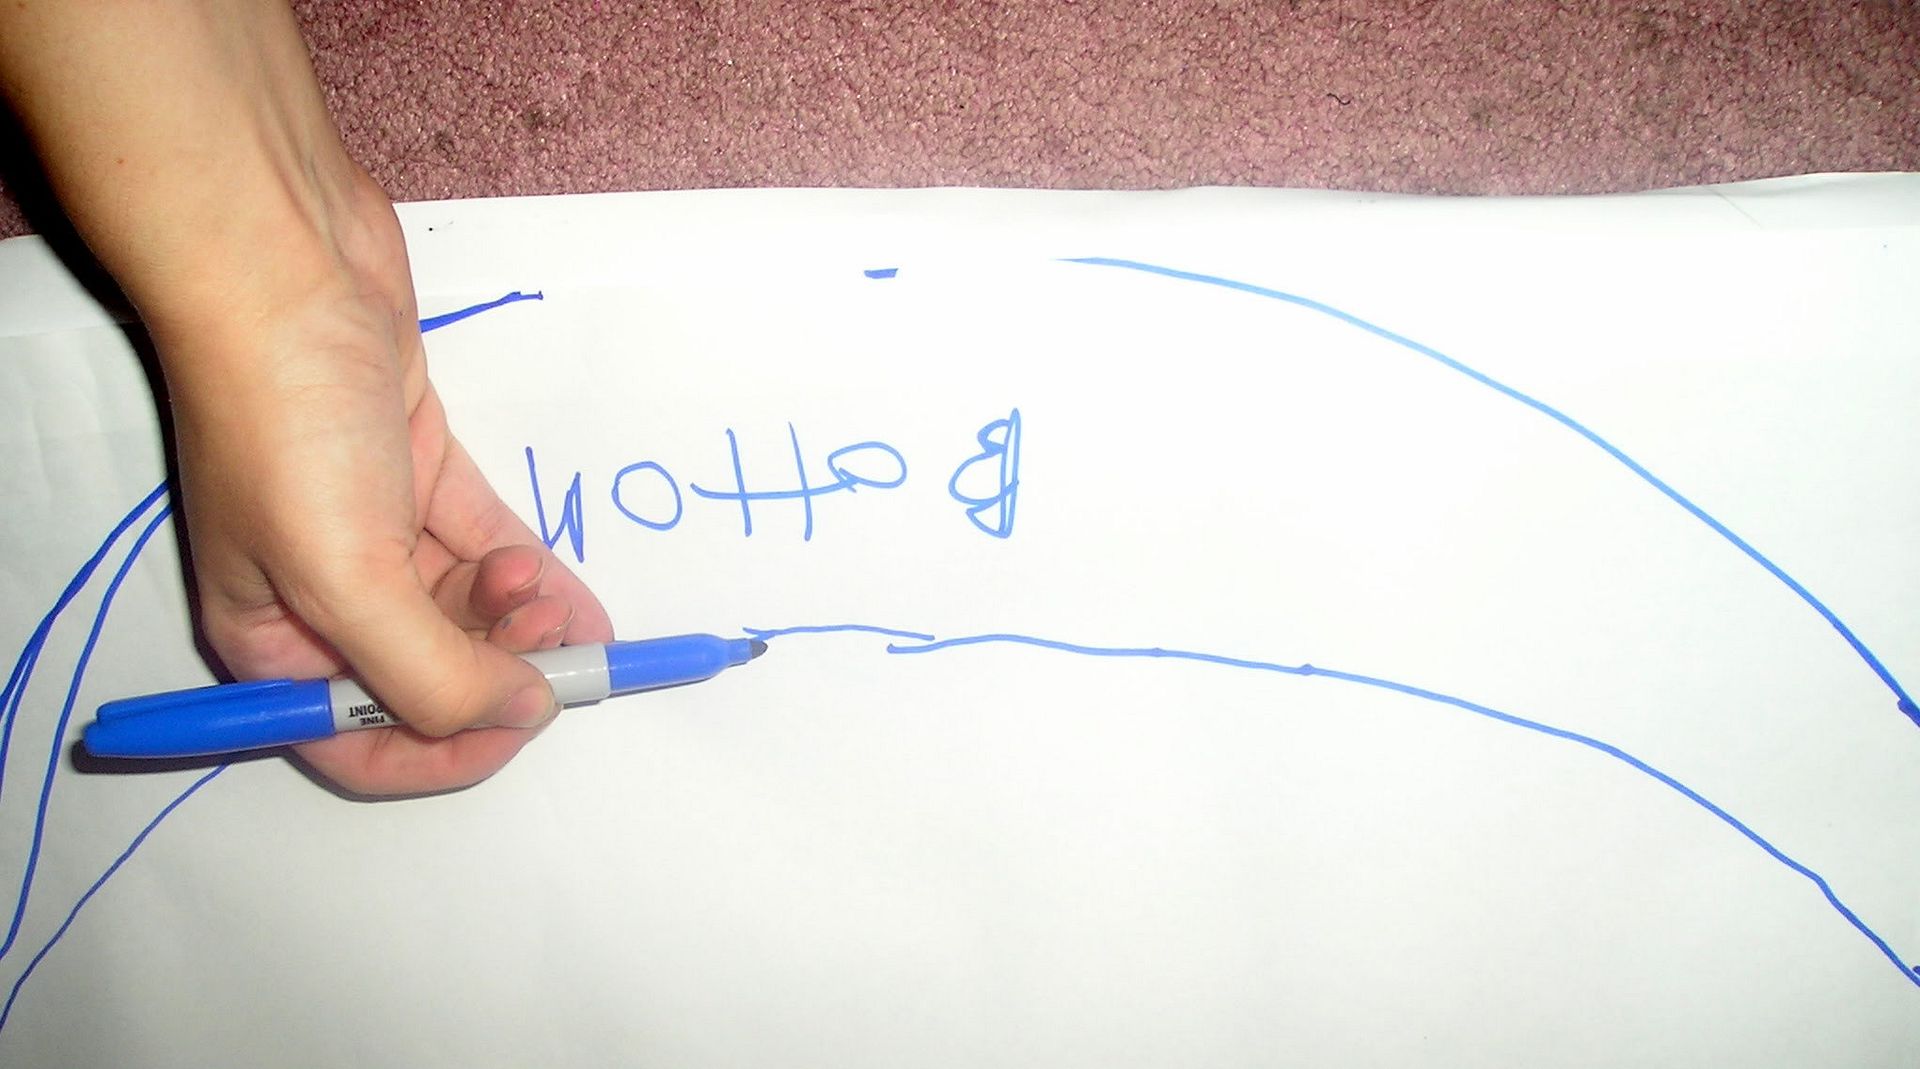
To make sure I had actually done what I wanted, I cut out the pattern piece and layed in on top of the section of fabric.
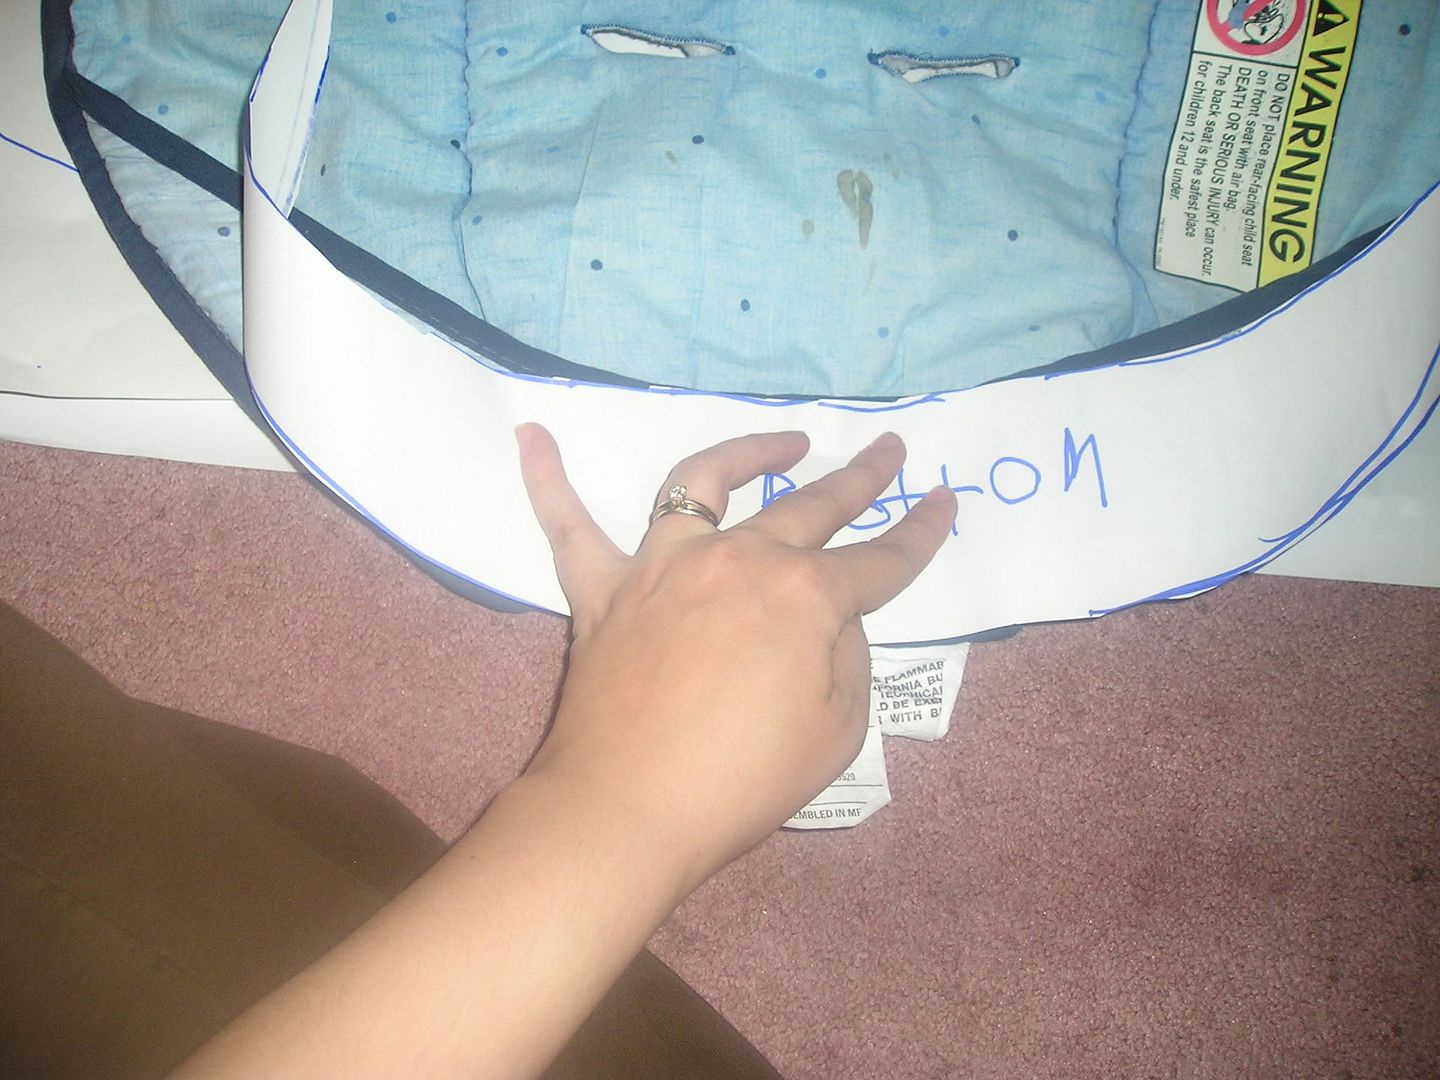
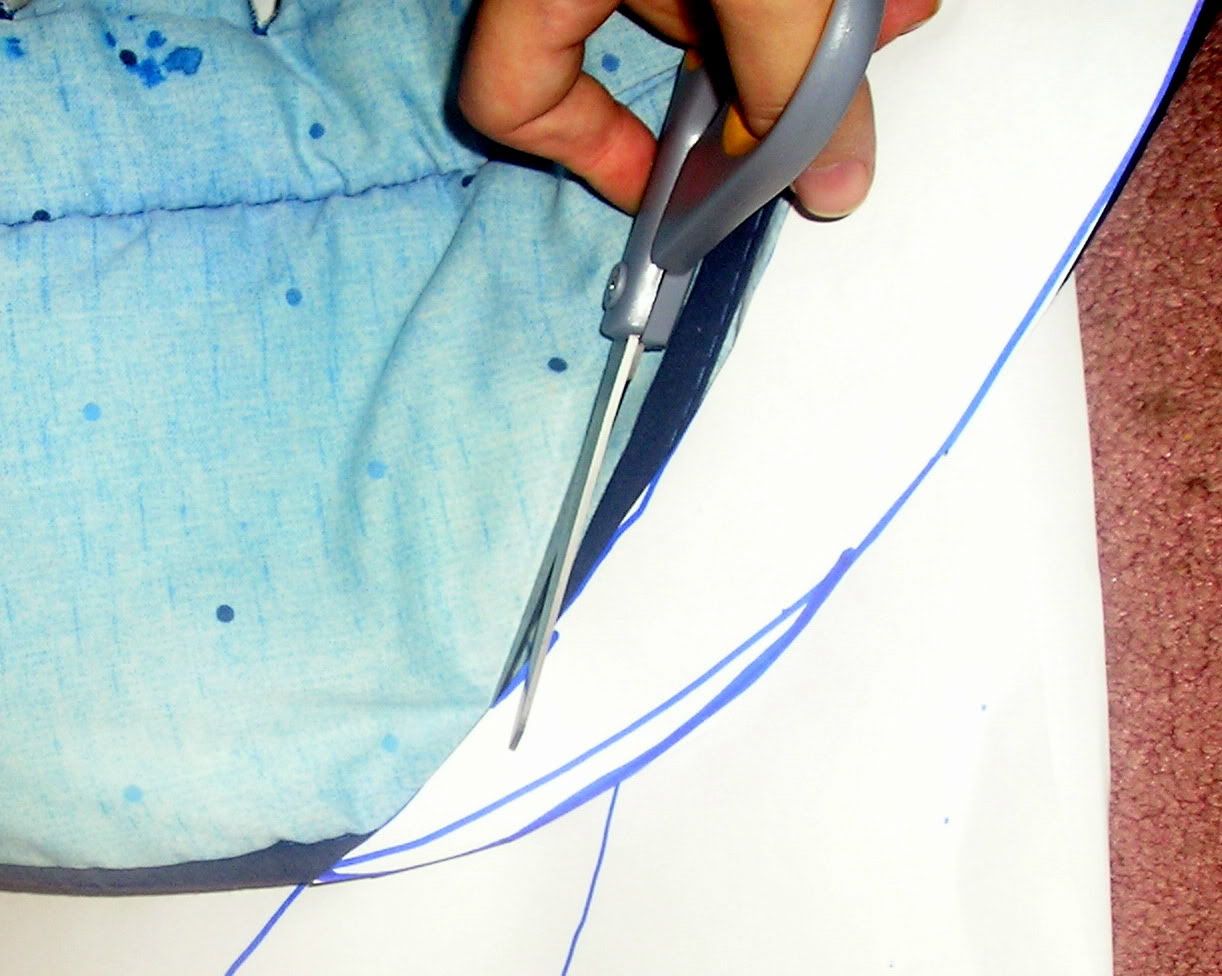
It was a bit off so I cut my pattern paper to match.
After you have cut them out. Lay them into your carseat to make sure everything fits. This is a moment when you can see any glaring mistakes you may have made (before you cut fabric).
Now pin the pattern to your fabric, being sure to avoid any bulging or folding fabric underneath.
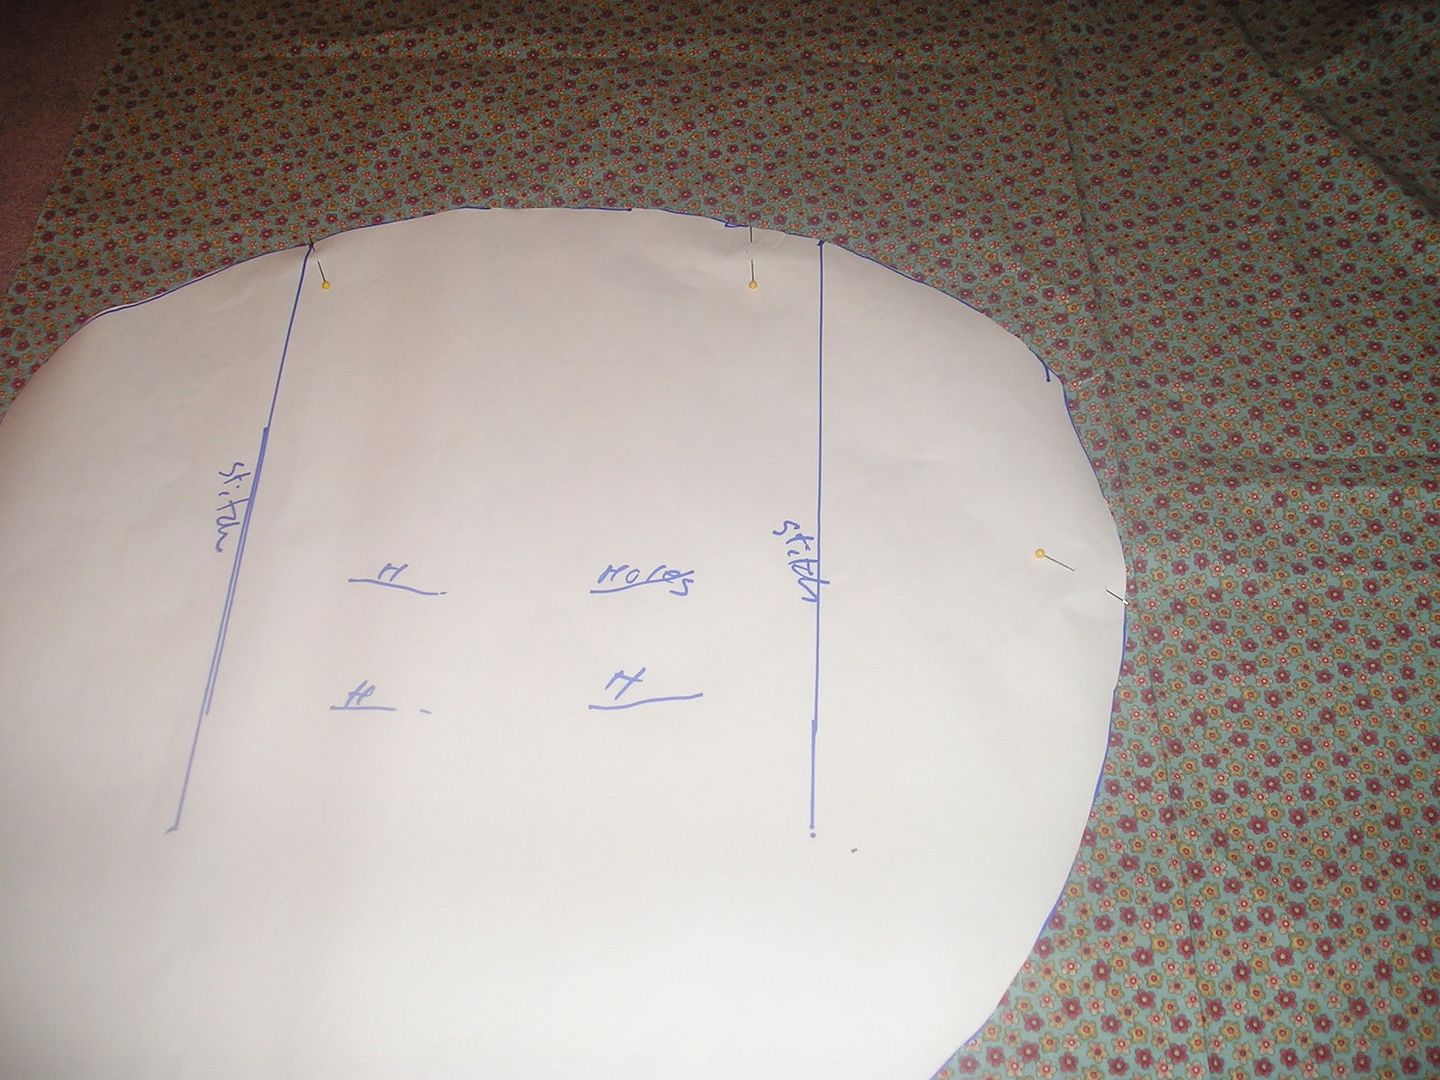
There are two ways you can cut your pattern. You can trace around it with a pencil or other fabric friendly instrument. Or you can leave the pattern attached and cut around it. I generally like the former, since the paper can be annoying to work around.
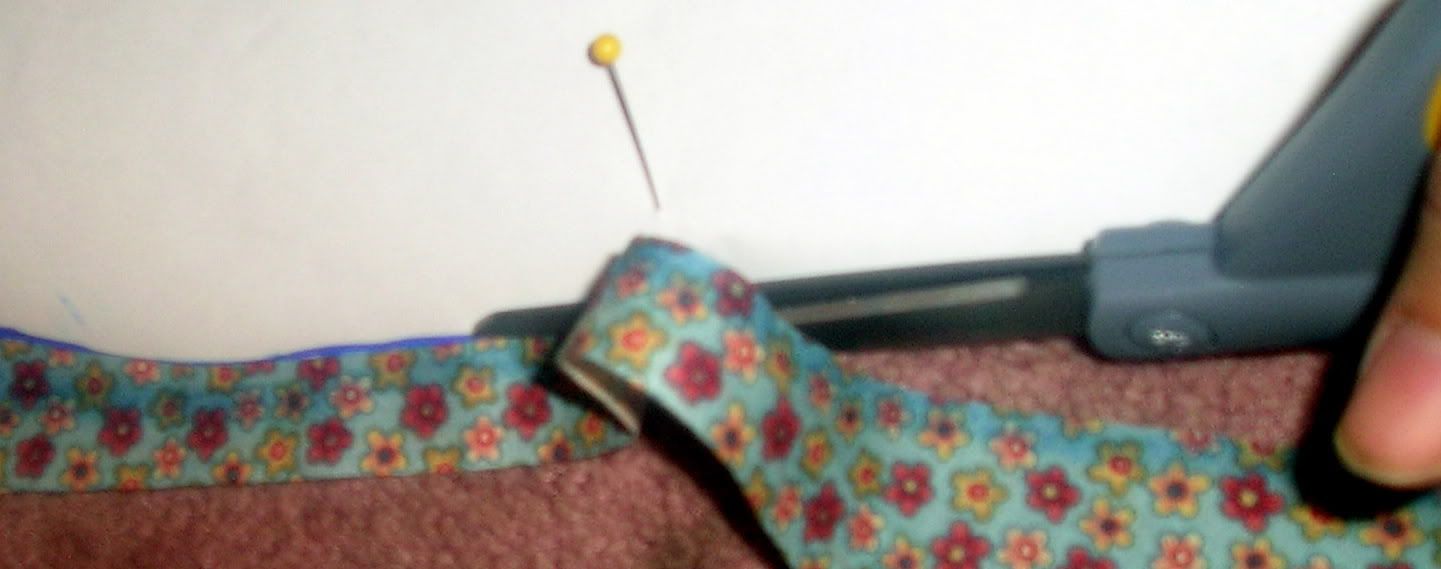
Once you have all the pieces cut out, you should lay them on the carseat like you did the pattern paper earlier. I didn't get a picture of this. But it's worth doing, so you can catch any bad mistakes. Then repeat all the previous steps with batting and bottom fabric.
Because you have the batting in the middle and you are essentially quilting it is important to pull tight when pinning and sewing. If you don't you're going to get bunching and bubbling. Notice how I used my foot to hold one side while I pinned... yeah, I'm lazy. Just remember to let your sewing foot move on it's own as you are holding things tight (during the sewing).
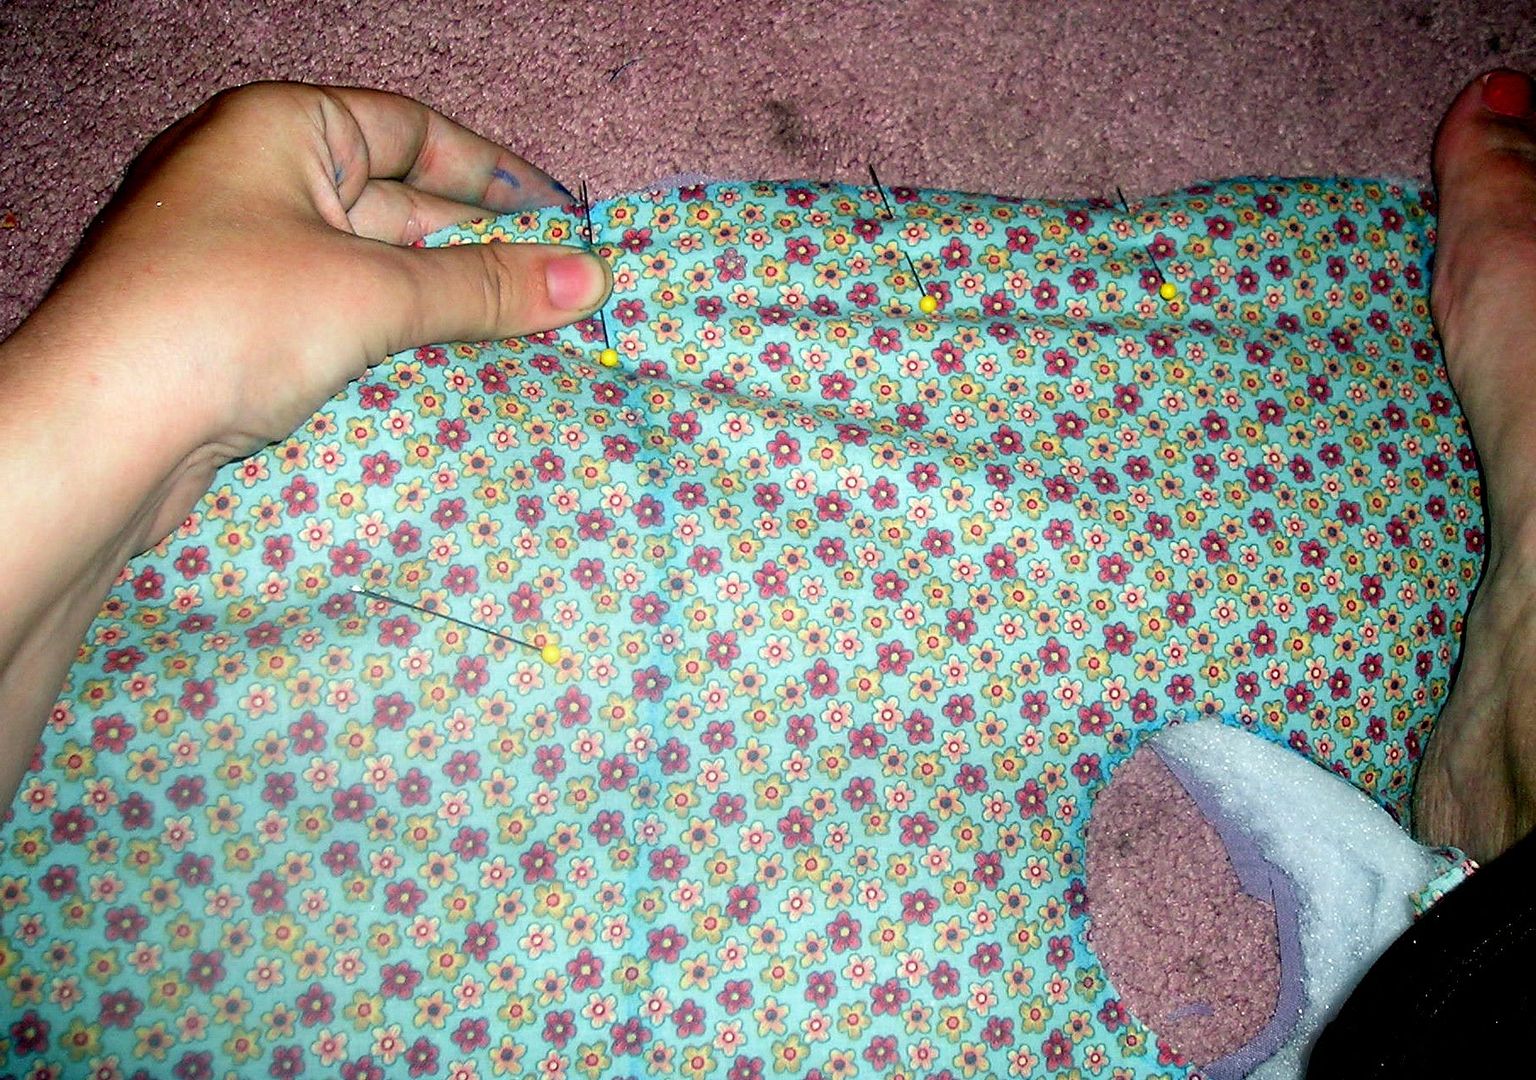
Now is where we begin sewing. Use about a quarter of an inch straight stitch and if you need to, go slowly. You're going to want to stitch any inner parts as well (strap holes, corner stitches) right now as well.
When you are done going around the first time it's probably a good idea to go over it again with a zig zag stitch to secure everything and prevent fraying.
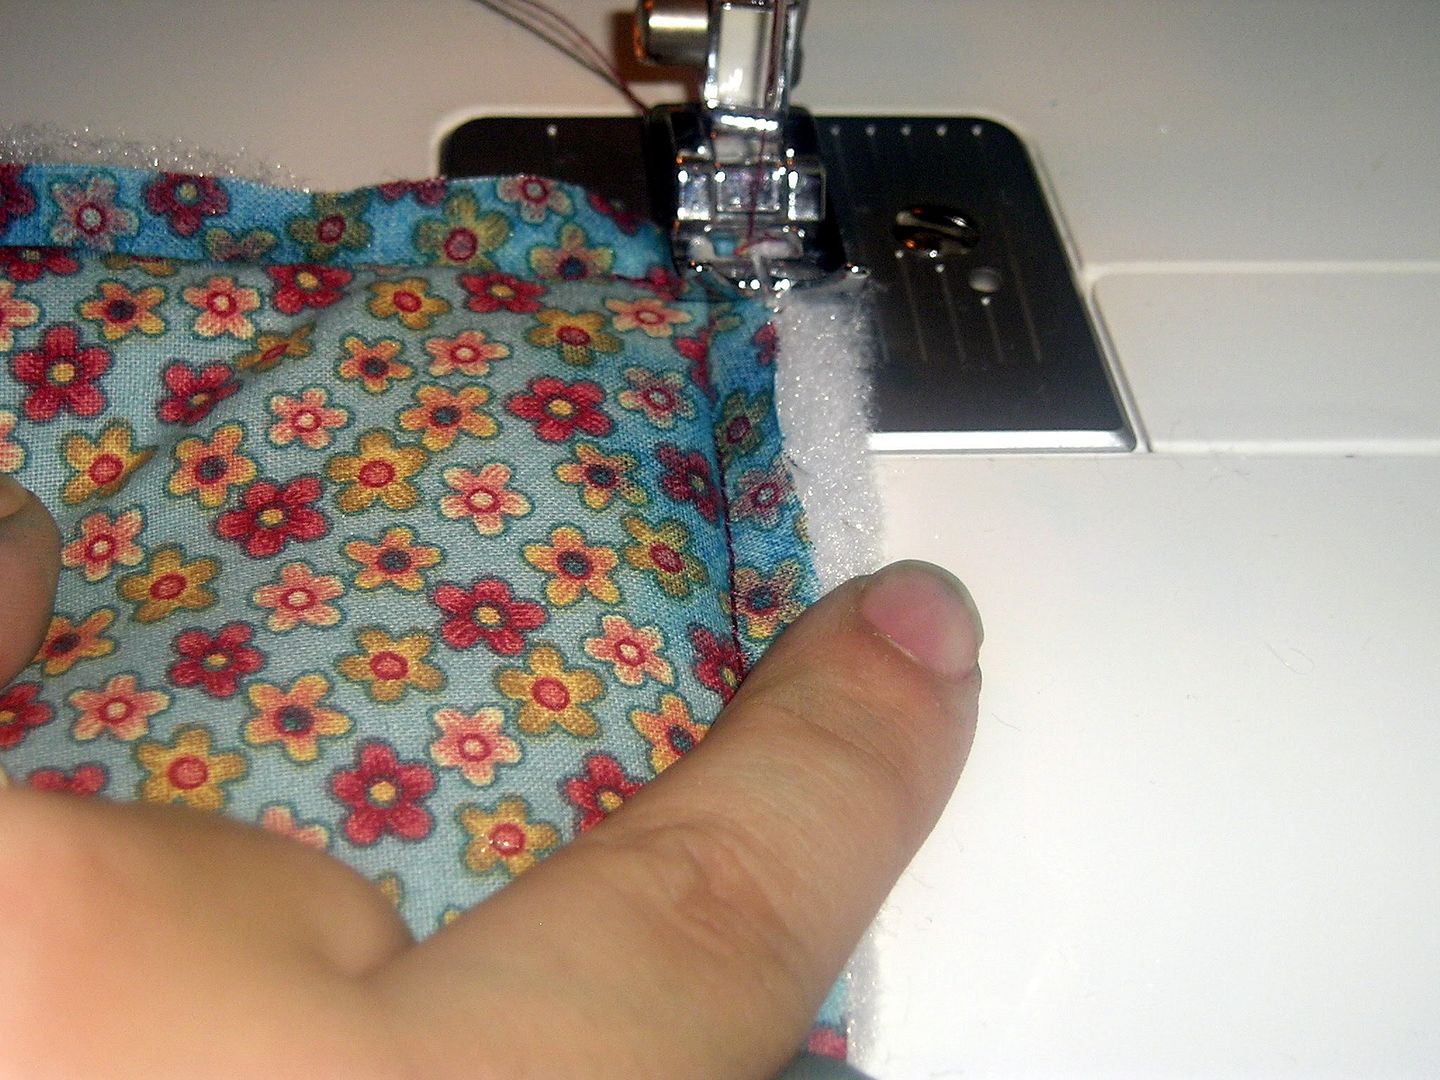
See....
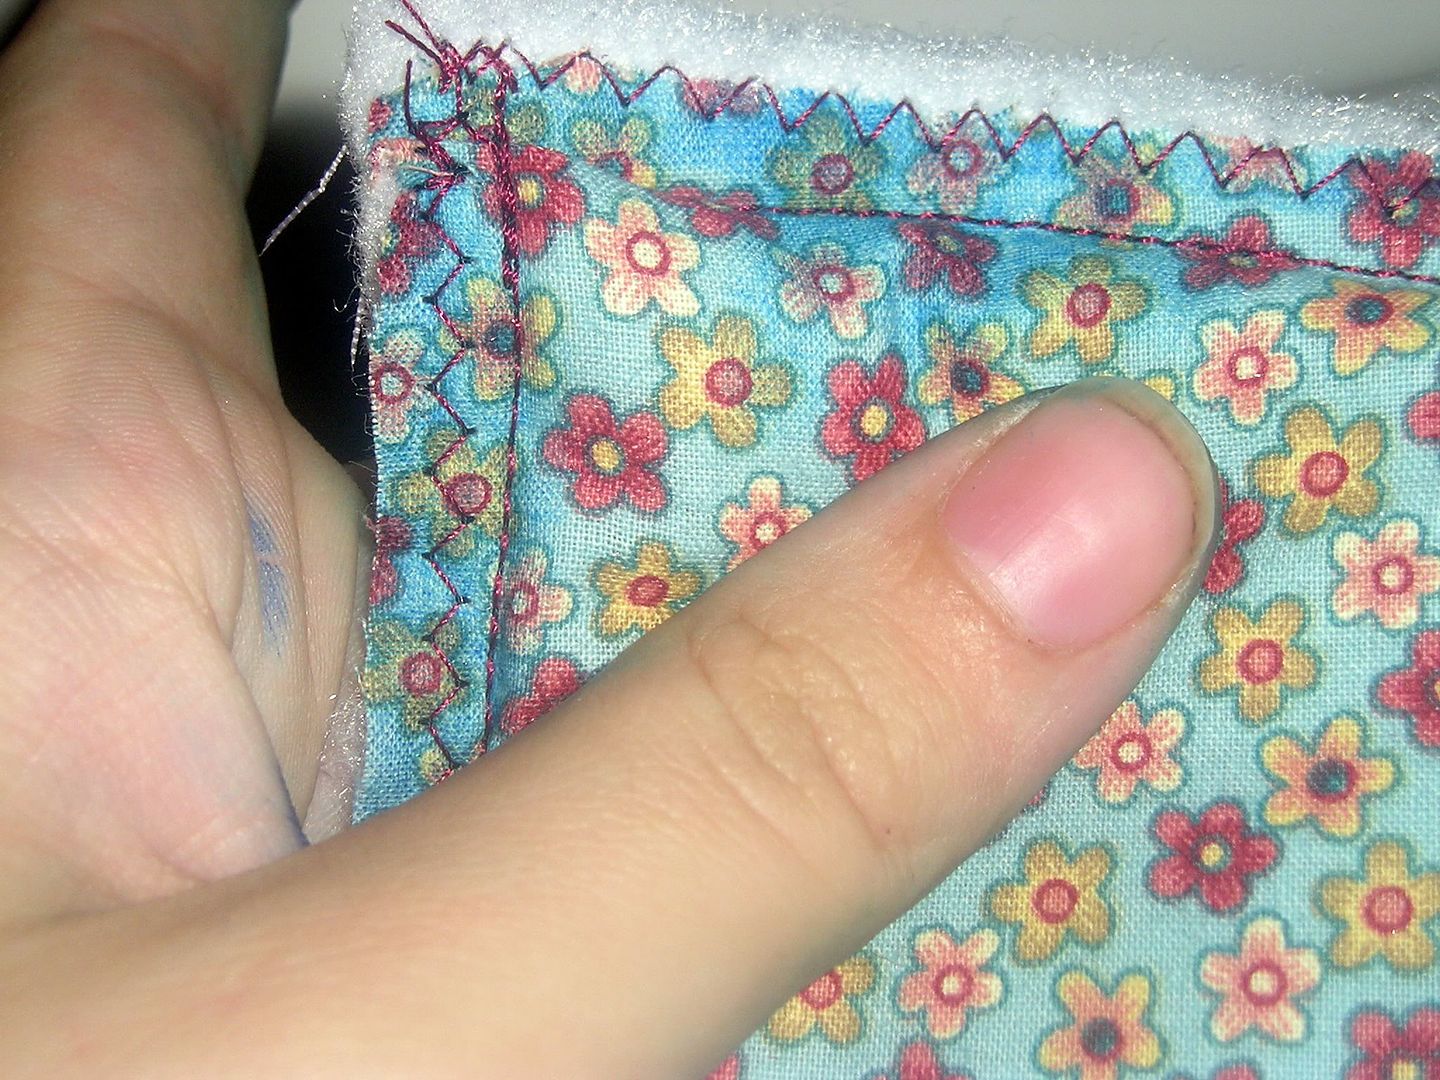
Also check your back to see if you missed any of the solid fabric. I did at one point and needed to stitch over that section again, a little closer in.
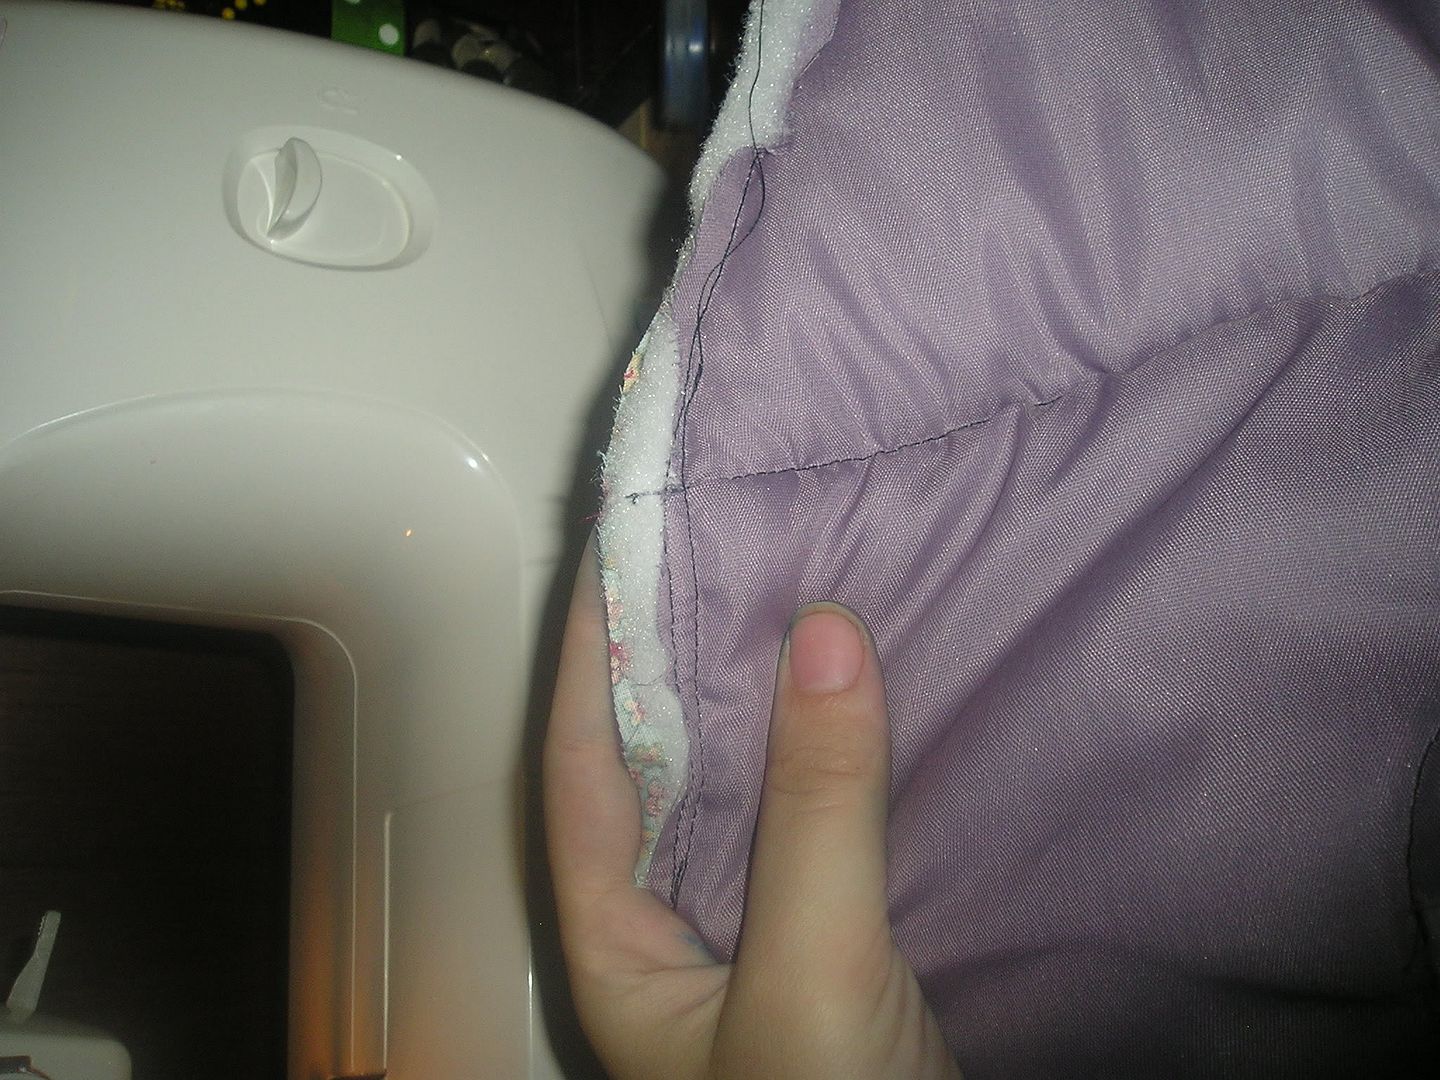
You should have your top and bottom parts all sewn together (both fabrics with the batting in the middle). Now you need to sew these two sections together. Lay the pieces right sides together and pin. You probably want to check your old cover to make sure you pin to the right points (and not to high up).
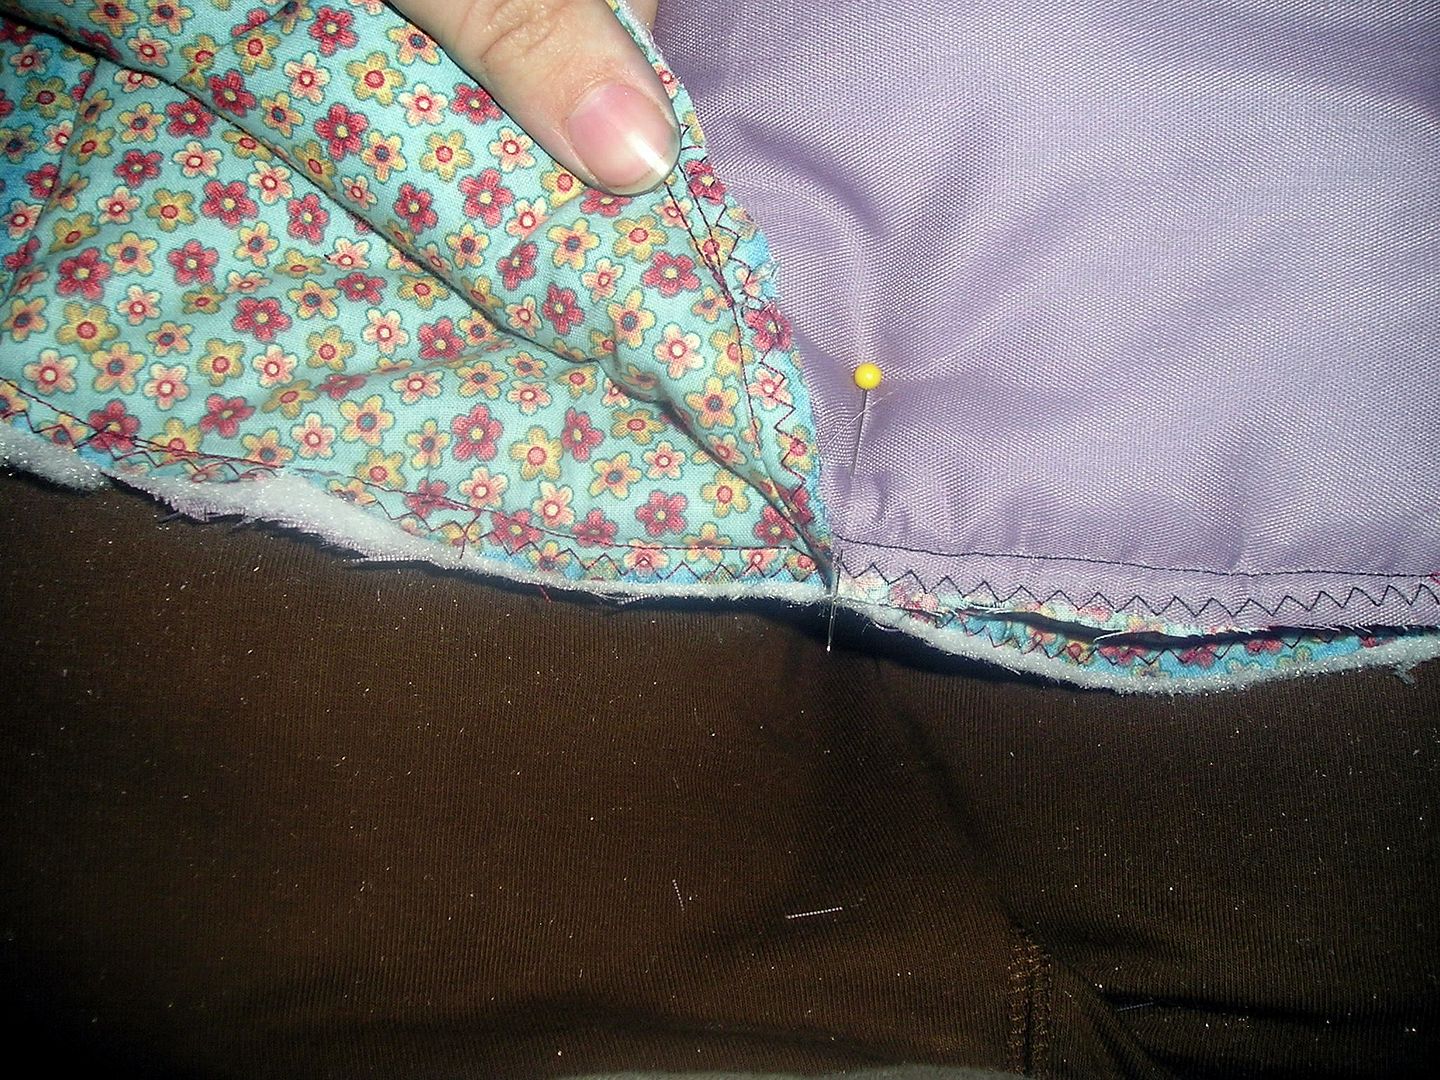
Like so....
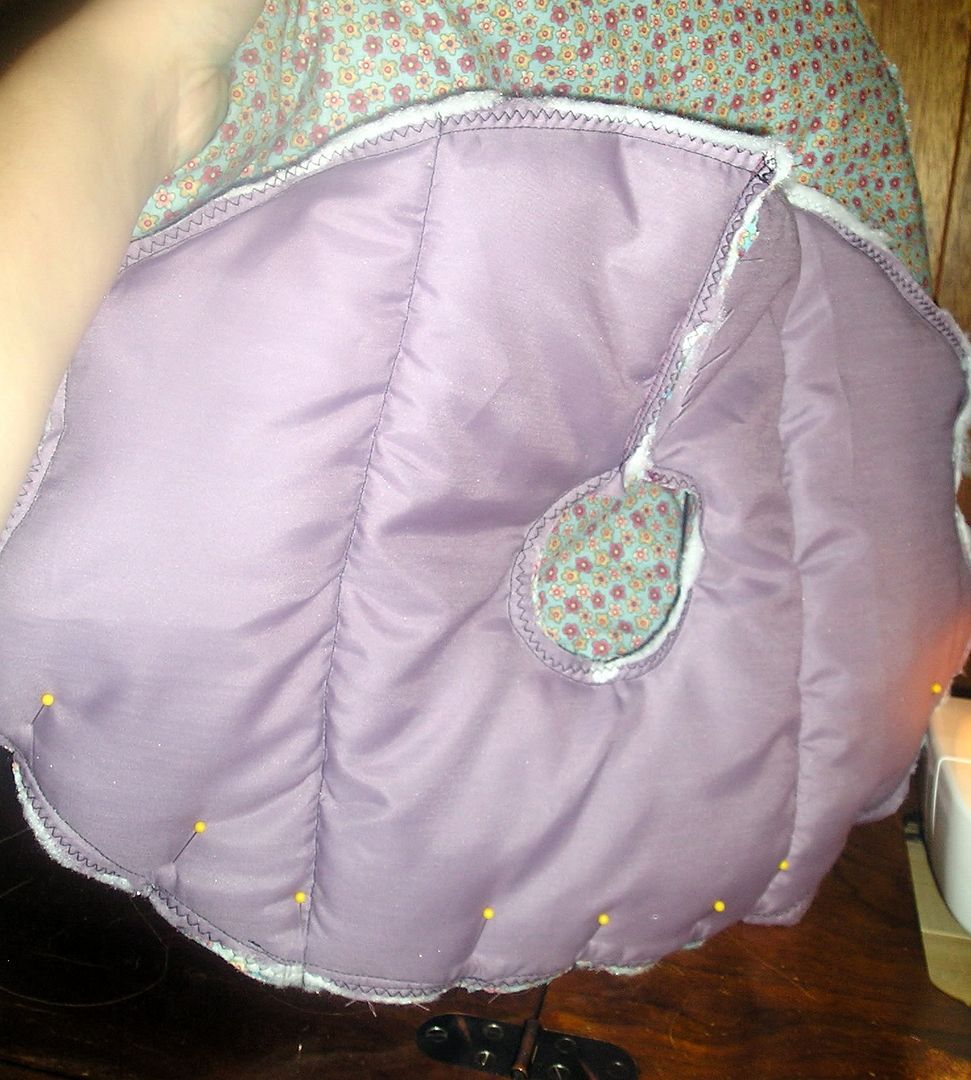
Sew the top and bottom together. Go slowly if you need to. Remember to align any extra stitching you've done... probably a little better than I did.
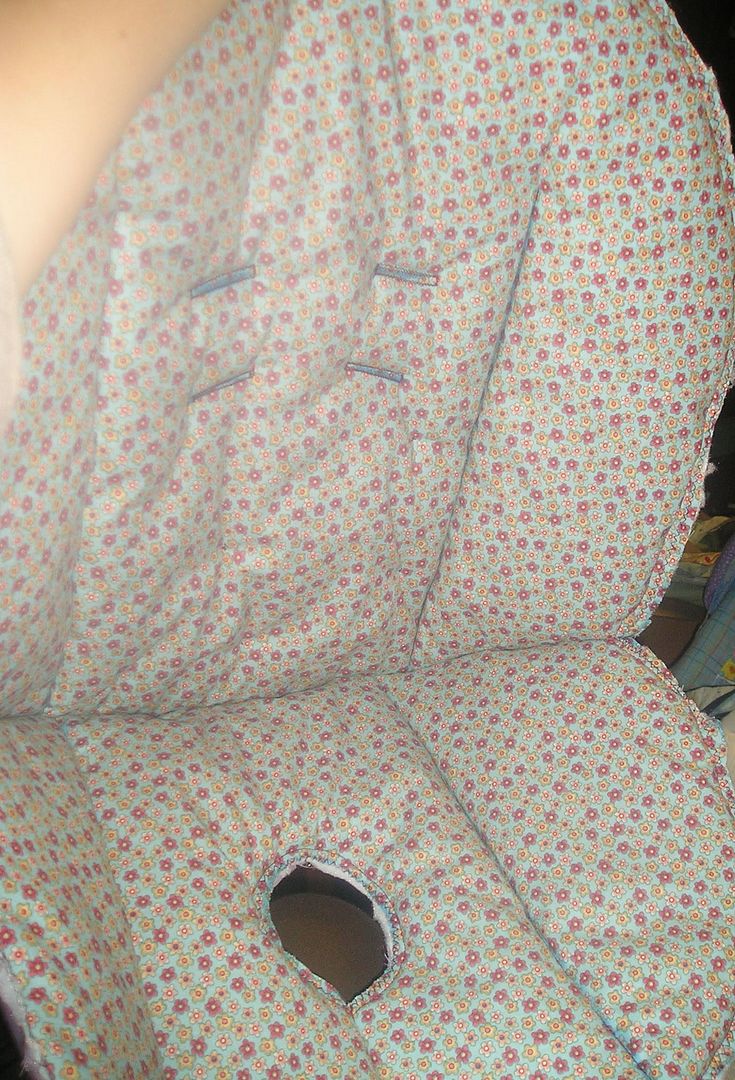
Now is when things start heating up. The overlays (the parts that really secure the cover to the carseat). These fit a little differently and aren't as easy to pin. And if I were to do it over I would have sewn the binding on these parts BEFORE I sewed them onto the rest of the cover.
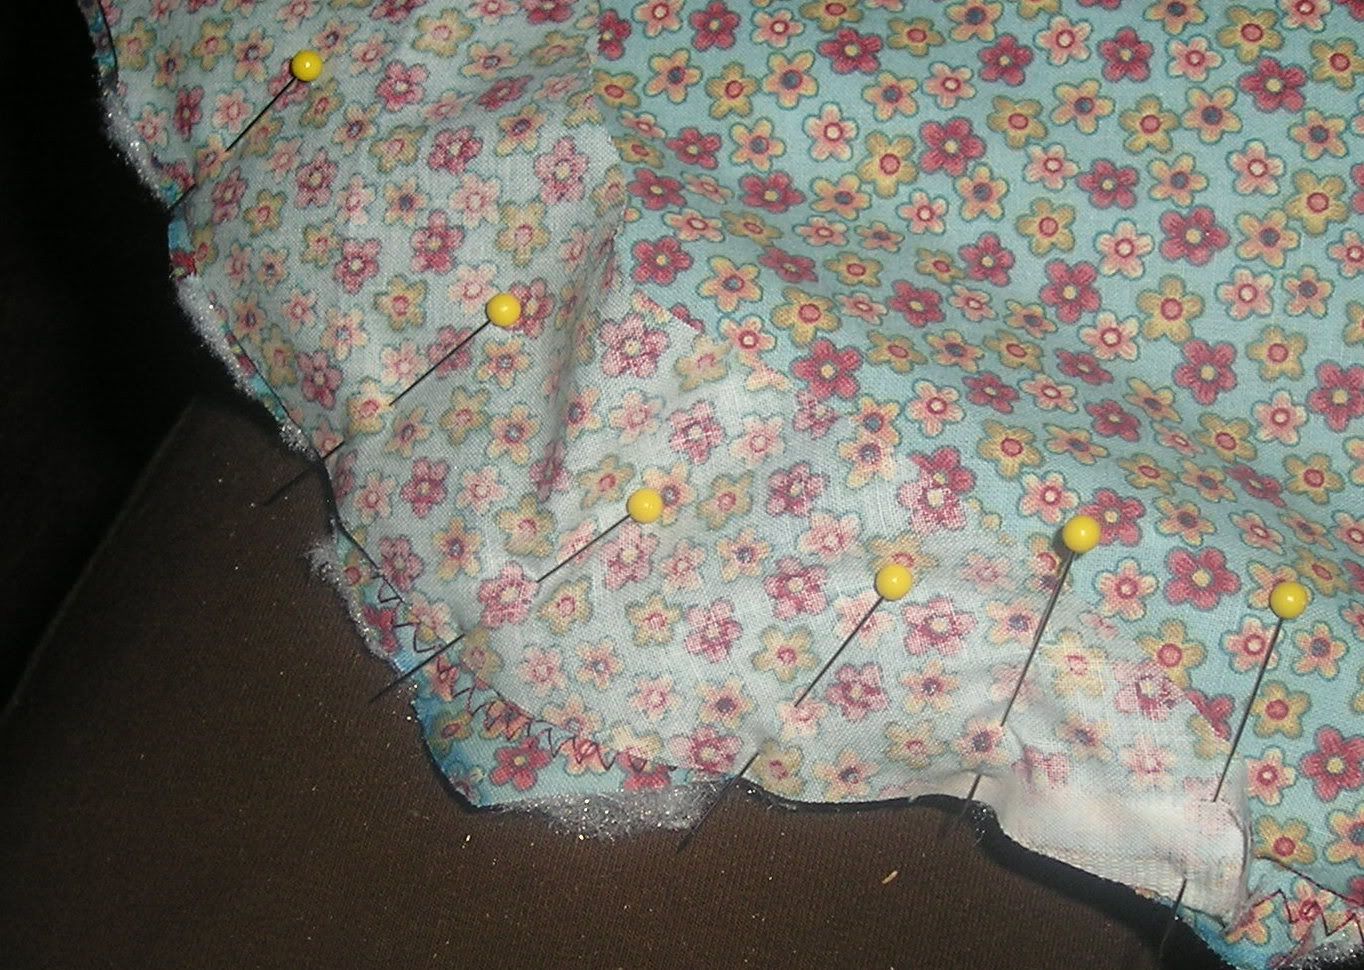
See how the pins area little bunchy. That's because I had to mold the fabric sections together. So when you begin stitching you'll need to hold these parts to their right spots... they won't like it, but it's important.
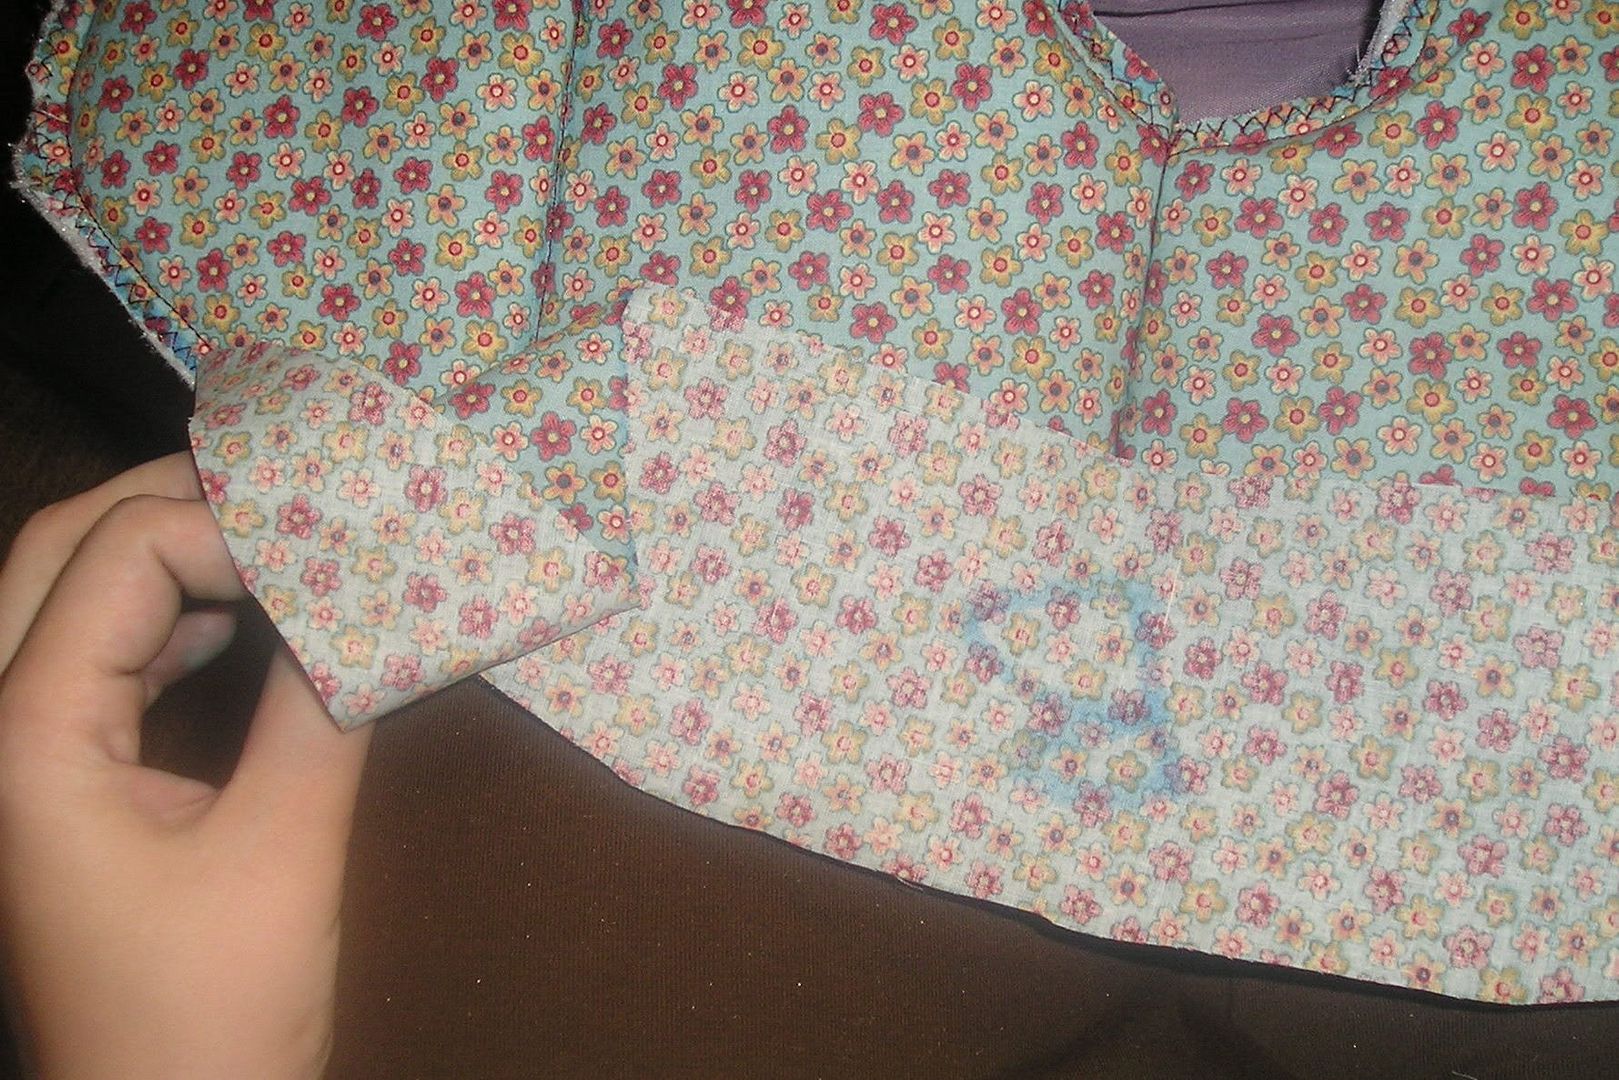
Now you get to start on the binding. It's a bit awkward to work with and requires a lot of pins. You'll want to make sure your fabric fits snuggly into the fold without being doubled over. Pin the binding to every place that the old cover had binding. Most especially the visible parts. This is what will give it the 'finished' look (and cover the seams).
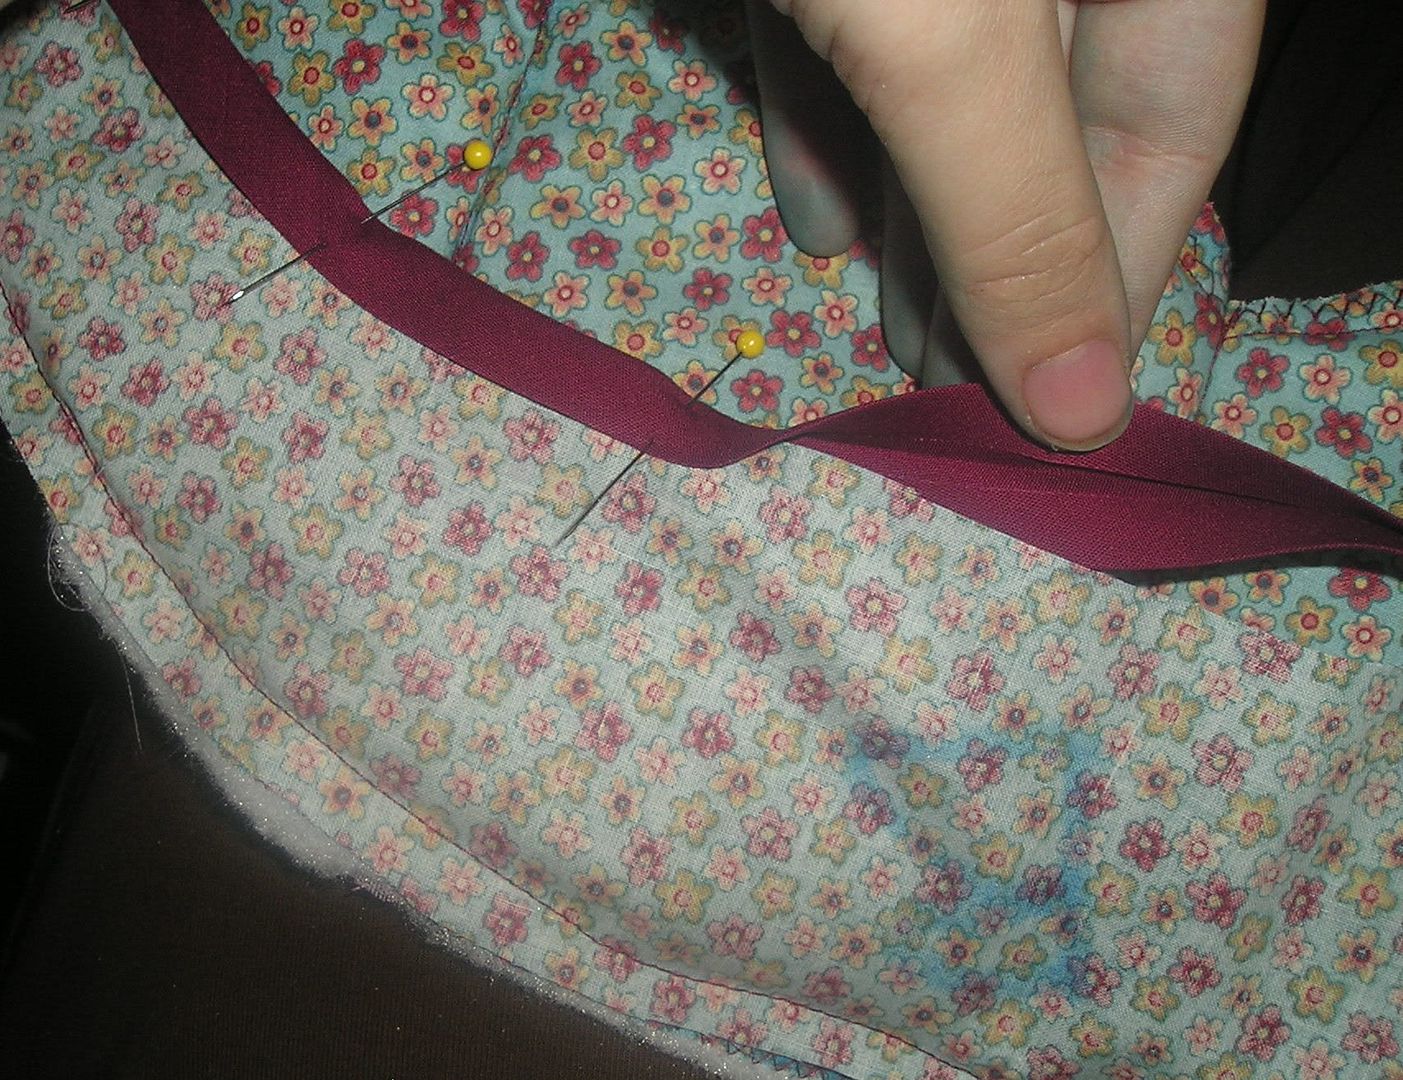
Straight stitch close to the inside edge, but remember that you want to catch the fabric that is now inside the binding.
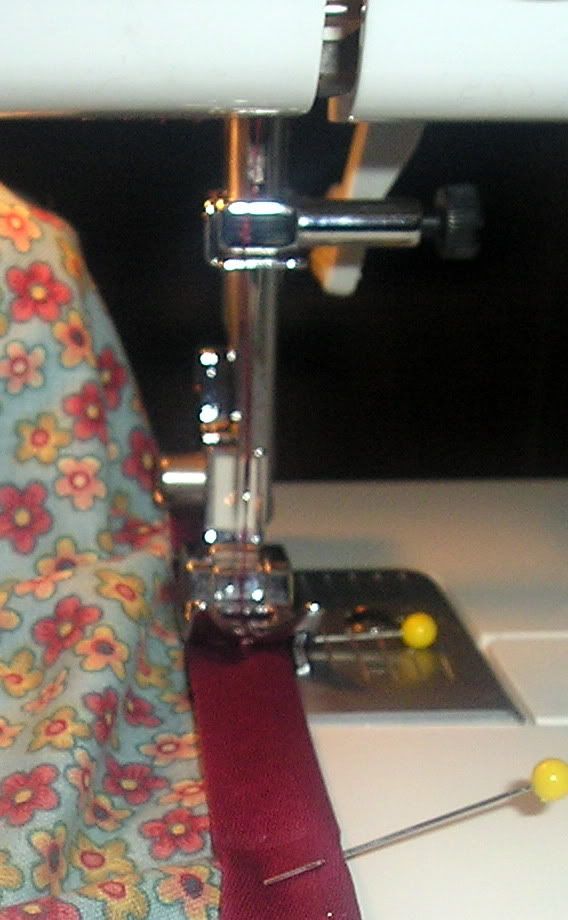
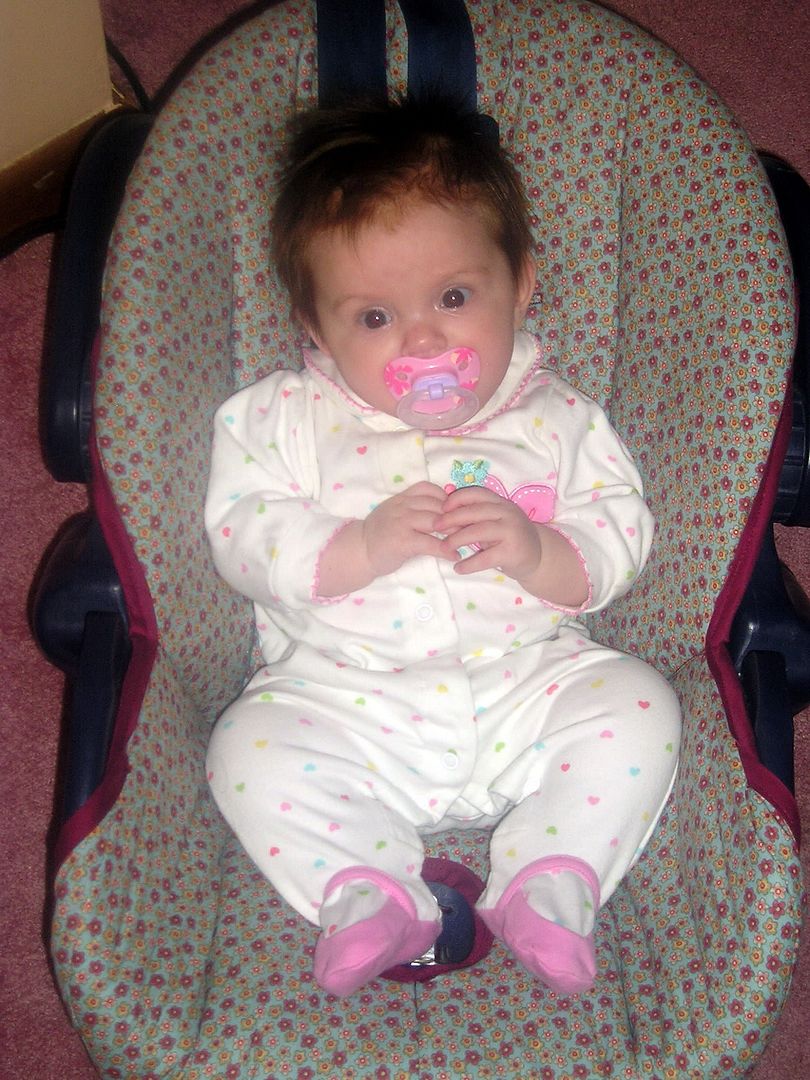
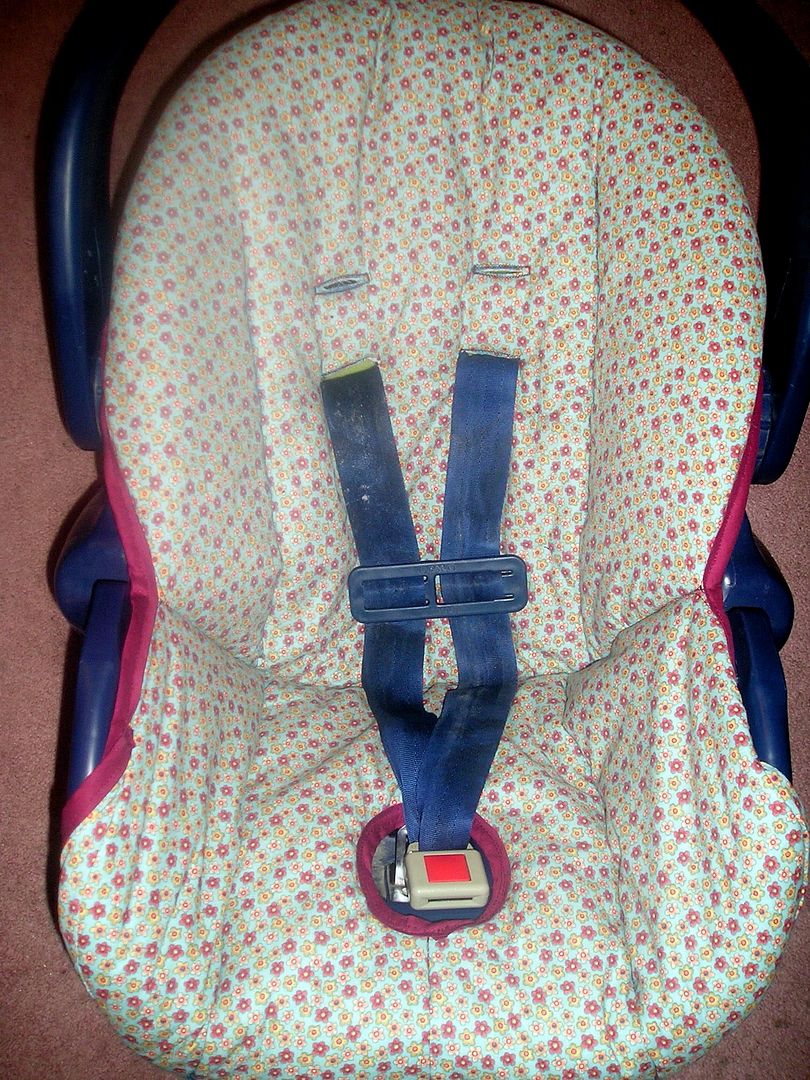
But...once your binding is on you should have the finished product! If it didn't work out I'll allow you to cry.
Voila! The baby loves it.
cannwin.blogspot.com









8 comments:
That is so cute! I love it and I wish I was gutsy enough to try it myself. Nice job, though!
You did a great job - glad you found my tutorial of help for this.
Ruth, your tutorial was my inspiration! I had resined myself to the ugly blue old one and then I realized I could break free! It was great.
Wow, I'm so impressed. I would never dare to take on a project like that. Great job!
Thanks. I really feel like I overcame some sewing barrier with this project. Today at the store I saw this cute shirt and I turned it inside out, saw how it was made and said, "I can make that." Right out loud... and without even hesitating I knew I could do it. I'm totally excited about sewing right now.
I just made one thanks to your awesome tutorial! Thank you so much!
I am so glad that some one finally put up a how-to for this! I am so excited to make one. I have been loking for awhile for a pattern! Thanks!!
Wow I'm excited to try this! Just a query - did you use a walking foot on your machine? I don't have one yet (saving up for one) so not sure if it will work with a normal sewing foot... Thanks again!
Post a Comment